Happy Birthday Sheepish Lee!! I did it…finally! I can’t believe my very own blog is finally making her grand debut. Never in a million years did I think I would have the courage or capability to make my mark on the world wide web. I guess that shows my age a bit…I mean, who even calls it that anymore, right?! Well, not to toot my own horn or anything (it is a “birthday” after all though), but I am so excited to share with you not only a little about me but also my absolute LOVE of crochet! I know there are many of you out there who share that same love too. There’s a good chance we’d be great friends if you find yourself a) a yarn hoarder who doesn’t think she has a problem, b) having multiple works in progress of which you tell yourself will totally get finished (one day) and c) thinking you’re going crazy because you have too many project ideas in your head! Fear not, we are in the same boat and I invite you to ride the waves with me as I embark on blogging and celebrating about the greatest thing ever…crochet!
There are too-many-to-name incredible crochet bloggers out there that I want to take a moment to just say “Thank You!” and “You are amazing!” You are honestly the very reason I have stepped out of my comfort zone and dared to dream big by starting my very own crochet blog. You have inspired and encouraged my creativity. What I once thought was just a silly little hobby, has turned into a purpose and a passion. Even more, it has given me great comfort knowing there is an entire community of people who share this same passion. I admire your unbelievable talents and for bringing crochet to new heights. You have set the bar high!
While I’m a bit timid about this new beginning, I am thrilled to be here and even more excited to have a place to let my creative endeavors have their moment in the spotlight. Now, you must know, I am by no means an expert at crochet. I am constantly learning and constantly researching and constantly frogging! My goal for this blog is for it to be fun, happy and something to hopefully put a smile on your face.
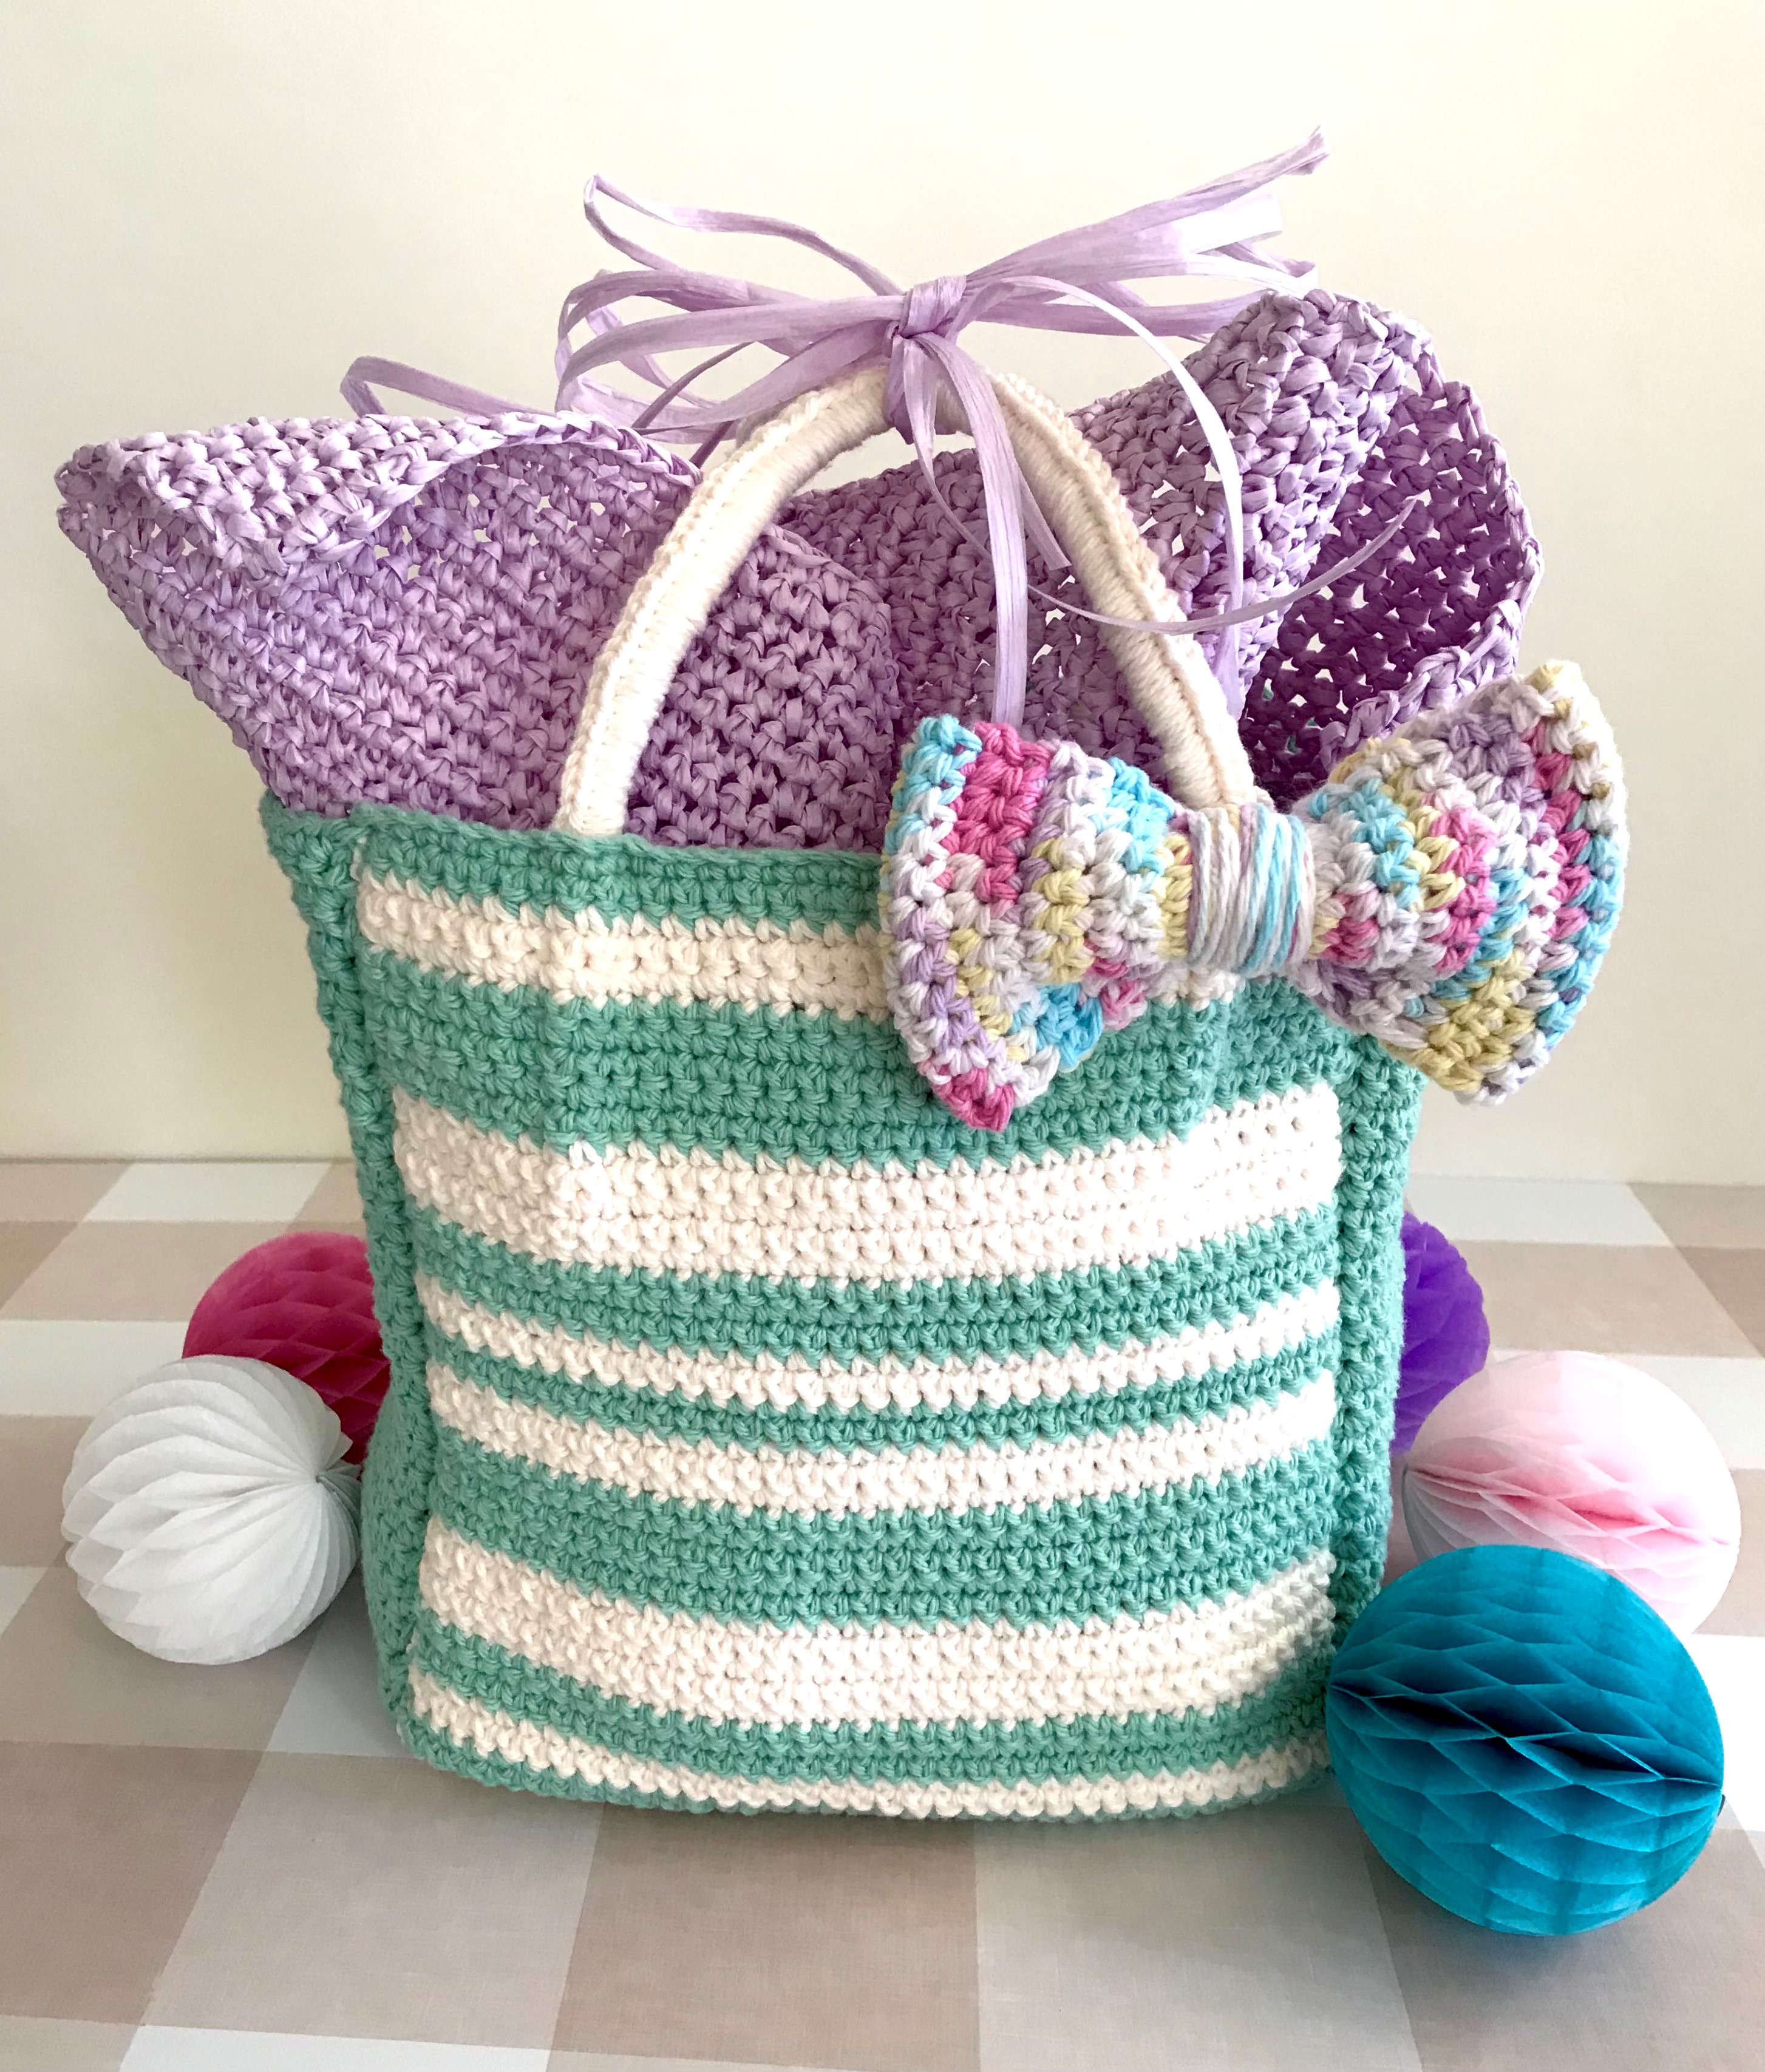
And now, with all that said, here’s to Sheepish Lee’s first project, an easy and beginner friendly crochet gift bag as a small nod to her birthday into the blogging world… the Hattie Bertha Crochet Gift Bag! (I thought she sounded a little like Happy Birthday!)

A Free Pattern Just For Ewe…
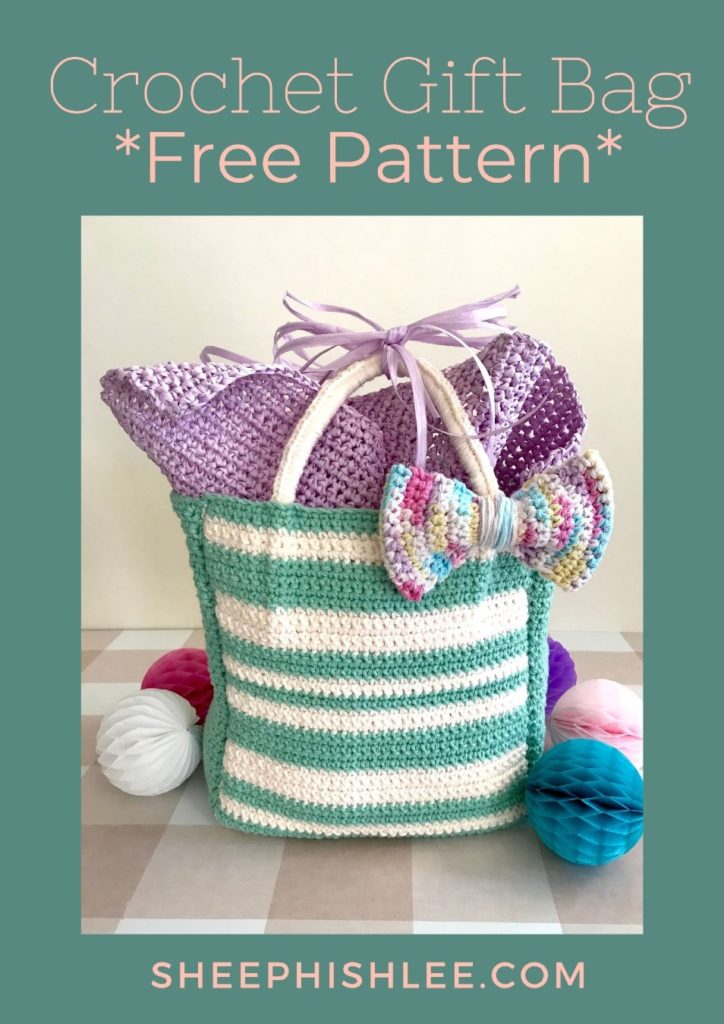
Since we’re celebrating Sheepish Lee’s birthday into this blogging world, what’s more fitting than to have presents?! This cute as a button crochet gift bag is so stinkin’ easy to make with simple stitches and fun colors that it will be the highlight of the party. The free pattern listed below includes all the details you’ll need to make the gift bag, bow and tissue paper.
A Wish Come True
The Hattie Bertha Gift Bag is a great project to make to celebrate that special someone in your life. Be it a birthday, anniversary or graduation, toasting sweet wishes to your loved ones with a handmade gift is truly priceless. Since they can also be used for other purposes, each component of the bag is a gift in and of itself.
Project & Yarn
I chose to use cotton for this project since I knew it would help create a stiff fabric and give structure to the bag. Although it’s not the hook size recommended to use with Lily Sugar ‘n Cream cotton, I opted to use a size F (3.75mm) hook which lent itself to reinforcing a dense, tight weave. If you tend to crochet tightly, you might find that working with a hook larger than a size 3.75mm works fine. However, if you tend to crochet a little more loosely, than working with a smaller size hook like I did might be a better option. There’s no shame in experimenting so just see what works best for your crochet style! The goal is just to create a sturdy fabric.
There’s a plethora of Lily Sugar ‘n Cream colors to choose from making it super easy to customize your crochet gift bag. So many colors + so many possibilities = so hard to choose! I opted for the Sky and Soft Ecru colorways and found them at my local Michael’s store but you can also find them at http://www.yarnspirations.com. Be sure to check them out and as we like to say in the south, give them some sugar! Hugs and kisses to ya Yarnspirations!!
I had never dreamed of using raffia as yarn until I stumbled across Wool and the Gang where they offer this amazing product. It’s made of 100% long wood fiber and has such great stiffness to it that it makes the perfect base for creating a simple rectangle of tissue paper. Raffia is unique and quite different in the way it works up compared to the normal everyday yarn we’re used to working with. Since it can be a little tricky to get the hang of, this is a great opportunity to just try it out and practice with using easy and simple single crochet stitches. They have an assortment of beautiful colors to choose from making it super easy to again, customize the perfect look for your crochet gift bag. I fell in love with the calm and peaceful Lilac Powder colorway. Ahh…so sweet and beautiful! The cool group over at Wool and Gang really have it goin’ on with all the amazing products and patterns (and tutorials!) they offer. You might just want to take a little spin on over to their website: https://www.woolandthegang.com/

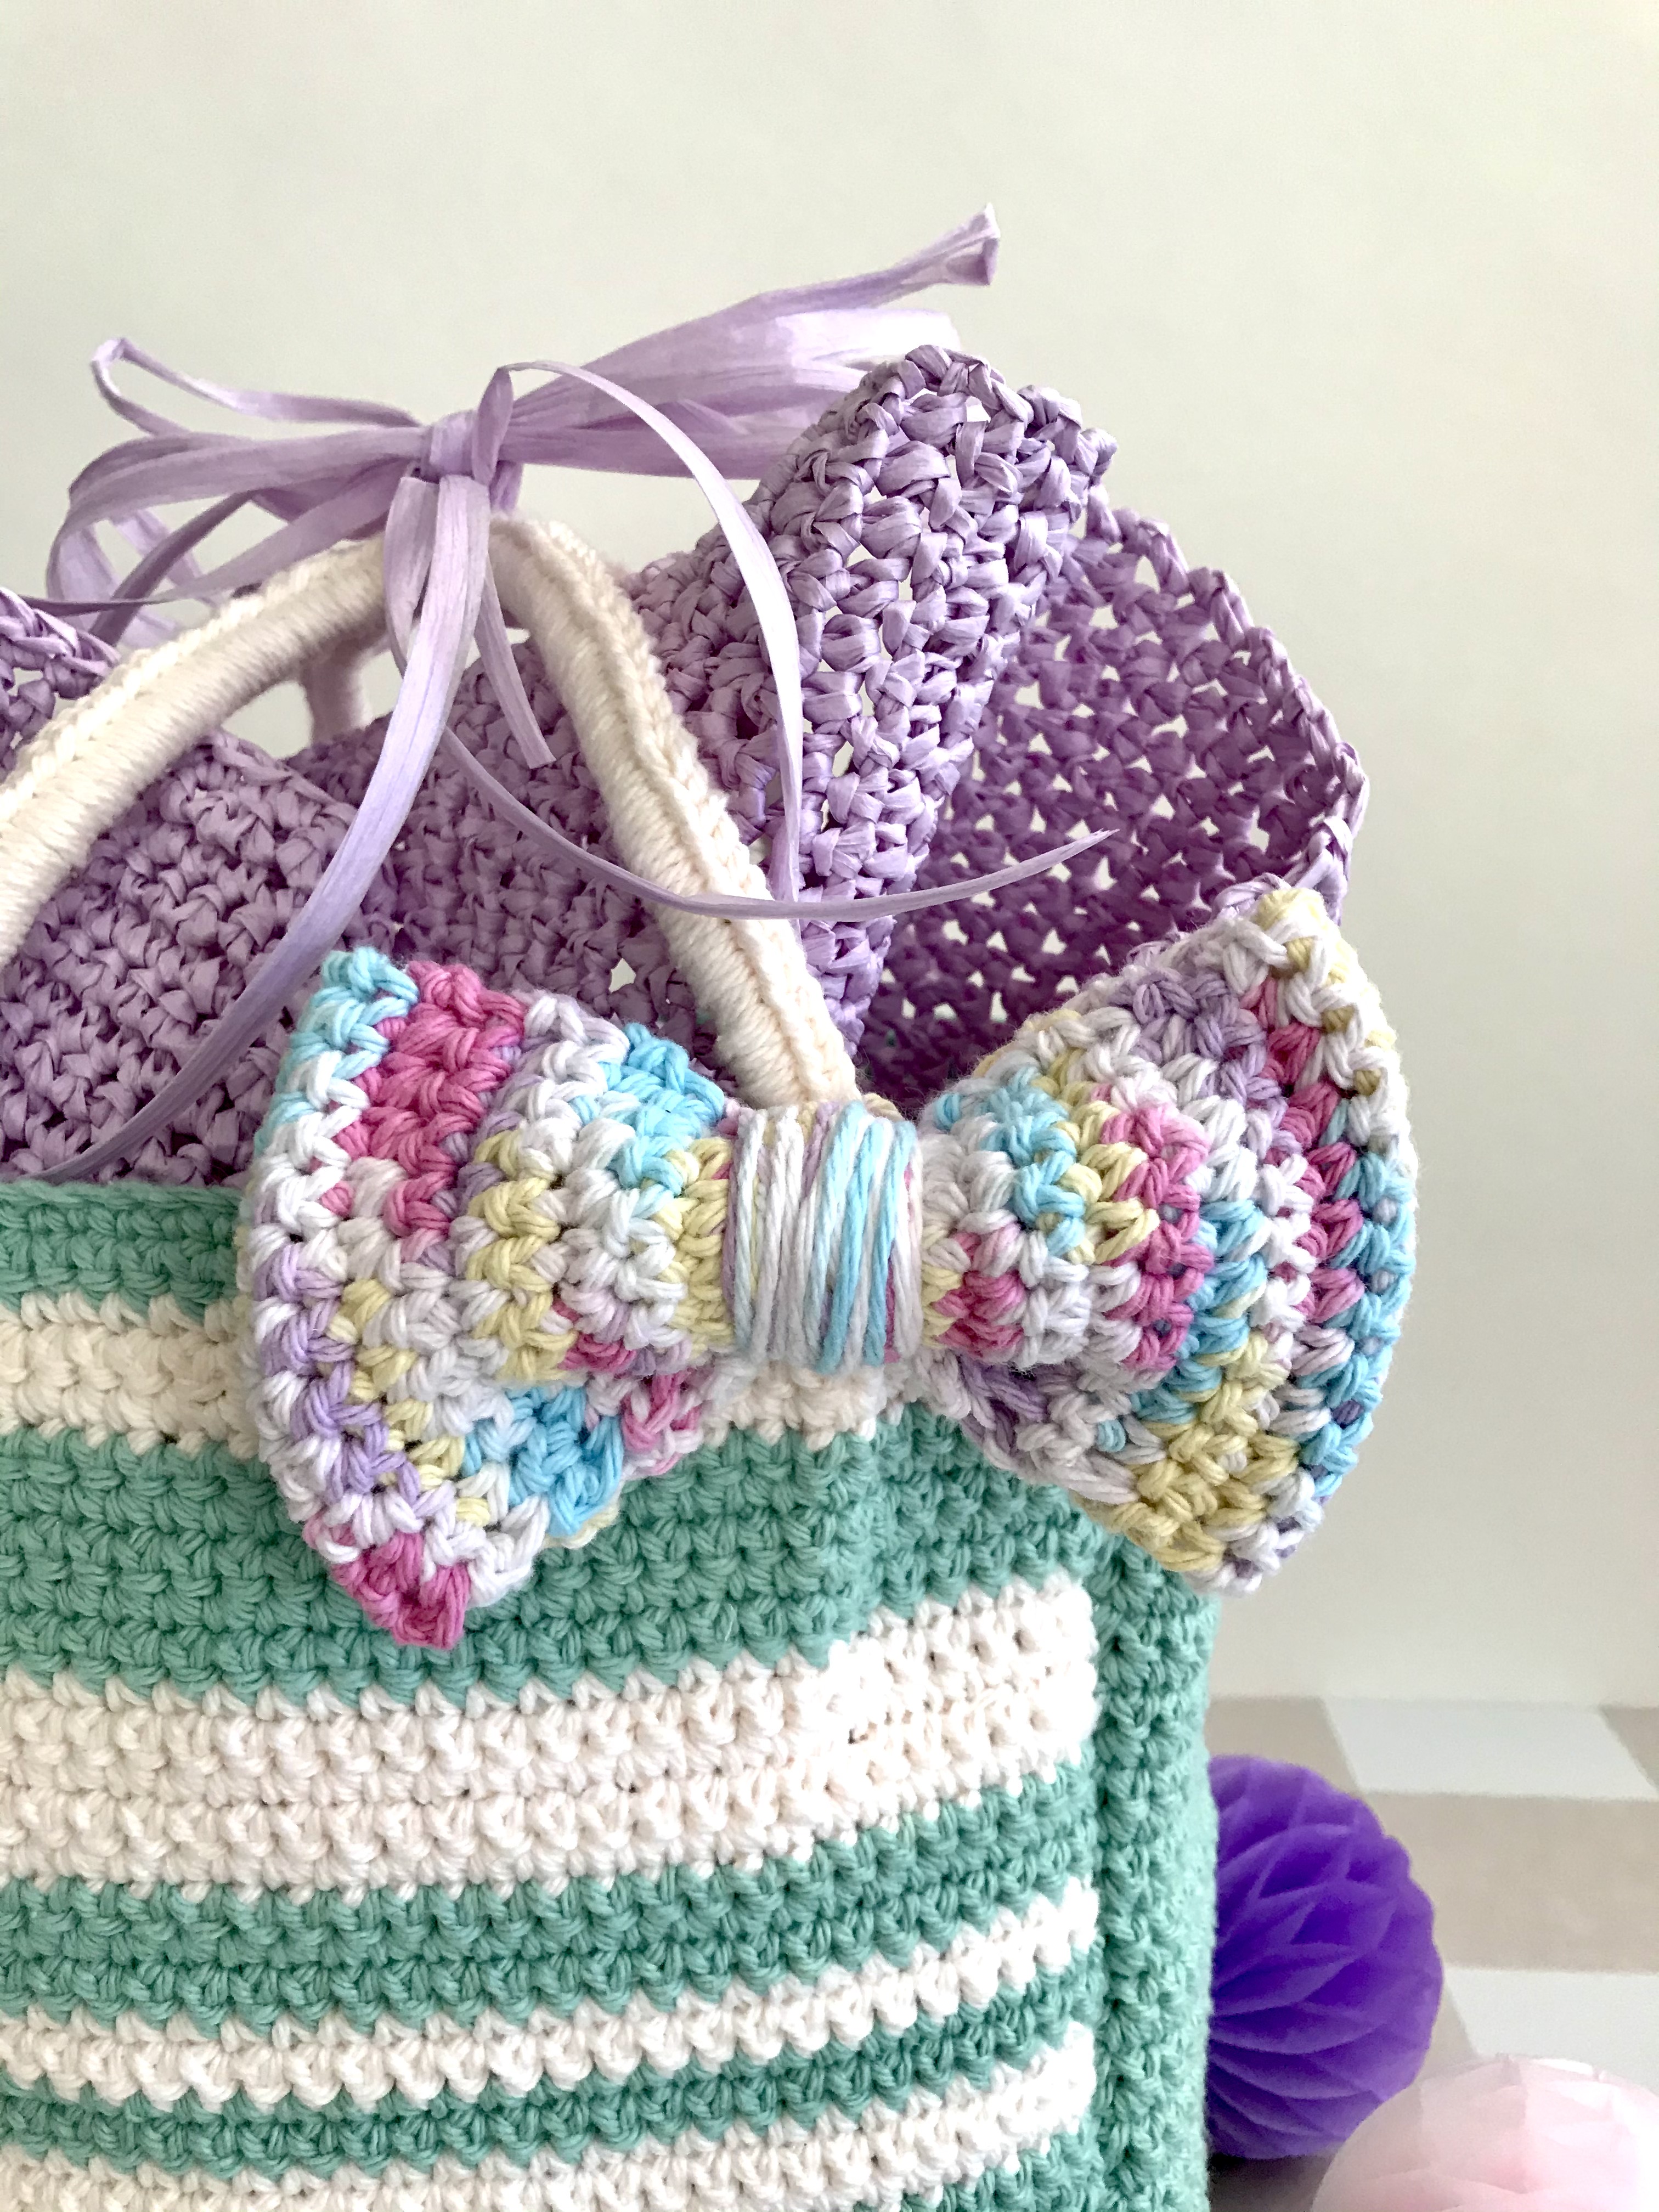
To sew the bow, I used Lily Sugar ‘n Cream cotton again but with a twist. Did you know that they have a line of their 100% cotton that is scented?! Well, I’m here to tell you they absolutely do! Lily Sugar ‘n Cream Scents releases a soft and light scent as you crochet with it. I chose the Fleur de Lavande colorway and it definitely has a clean, yet subtle lavender fragrance to it. I was really able to capture the scent when I squished the yarn and held it close to my nose. (Side note: Does anyone else like to smell their new ball of yarn or is it just me?! Call me crazy but there’s something just so comforting about it.) Using the Scents yarn was new for me and I appreciated that it seemed to lend another element of happiness to the entire project.

The bag is worked up by just crocheting the front, back, side, and bottom panels and then sewing everything together, including the handles. I added stripes to the design which does require color changes but it would also look great in just a solid color if you don’t want to deal with the color changes. Another option might be to add a fun applique or embellishment. Uh oh…another idea!! What would a cute birthday cake applique look like?!
As a bonus and thinking outside the bag (I mean box!), each element of the crochet gift bag can be used for other purposes after the celebration is over. You might think about using the bag to store odds and ends of yarn, a little tote for your work in progress, taking it to the beach to hold your suntan lotion, phone, book, etc., and even switching it out with your everyday purse when enjoying a fun night out. The tissue paper would make a great place to sit your laptop on, a placemat on your dinner table or even a place to put your potted plant on. Since the raffia is water-repellant and dries quickly, it won’t be a problem if it gets wet. And, as for the bow, well, I think just about anything looks cuter with a bow on it! Essentially, the Hattie Bertha Crochet Gift Bag will be the gift that keeps on giving!
I hope Hattie Bertha brings you much joy and may all your wishes come true!
Keep Crocheting!
Erica
HATTIE BERTHA CROCHET GIFT BAG
Skill Level: Beginner+
Materials
* Lily Sugar ‘n Cream Cotton – 2 balls in Sky
* Lily Sugar ‘n Cream Cotton – 2 balls in Soft Ecru
* Lily Sugar ‘n Cream Cotton – 1 ball in Fleur de Lavande
* Wool and the Gang Ra-Ra Raffia – 1 ball in Lilac Powder
* ¼ inch Cotton Cord – approximately 1 yard (I found mine at Joann’s)
* US size F 3.75mm crochet hook
* US size 7 4.5 mm crochet hook
* Scissors
* Tapestry needle
Abbreviations
* MC – Main Color (Sky)
* CC – Contrasting Color (Soft Ecru)
* sc – single crochet
* st – stitch
* ch – chain
Gauge
Approximately 4 rows = 1 inch
Notes
Pattern is worked using a size F hook in order to create a very stiff fabric. This will help the bag to stand up and not flop over.
Pattern is made up of (1) front panel, (1) back panel, (1) bottom panel and (2) side panels.
When changing colors, work the last sc stitch before the color change by bringing up a loop and leaving both loops on the hook. Instead of yarning over and pulling through with the yarn on your hook, yarn over (leaving a tail to weave in) with the new color and pull through to finish the stitch. Continue working with the new color.
If you don’t want to worry about changing colors, it would look amazing crocheted in just one color too!
Pattern
Front and Back Panels
Make 2 – (1) front panel and (1) back panel.
With MC, ch 37
Row 1: sc in 2nd ch from hook and each ch across. Ch 1, turn.
Row 2: sc in first st and each st across. Ch 1, turn.
Change to CC
Row 3-5: Work as Row 2.
Change to MC
Row 6-7: Work as Row 2.
Change to CC
Row 8-10: Work as Row 2.
Change to MC
Row 11-15: Work as Row 2.
Change to CC
Row 16-20: Work as Row 2.
Change to MC
Row 21-23: Work as Row 2.
Change to CC
Row 24-25: Work as Row 2.
Change to MC
Row 26-27: Work as Row 2.
Change to CC
Row 28-30: Work as Row 2.
Change to MC
Row 31-35: Work as Row 2.
Change to CC
Row 36-40: Work as Row 2.
Change to MC
Row 41-43: Work as Row 2.
Change to CC
Row 44-45: Work as Row 2.
Finish off and weave in all ends.
Bottom Panel
With MC, ch 37
Row 1: sc in 2nd ch from hook and each ch across. Ch 1, turn.
Row 2: sc in first st and each st across. Ch 1, turn.
Row 3-22: Work as Row 2.
Finish off and weave in ends.
Side Panels
Make 2 – (1) left panel and (1) right panel.
With MC, ch 20
Row 1: sc in 2nd ch from hook and each ch across. Ch 1, turn.
Row 2: sc in first st and each st across. Ch 1, turn.
Row 3-45: Work as Row 2.
Finish off and weave in ends.
Handles
Make 2 – (1) will attach to front panel and (1) will attach to back panel.
Cut 2 pieces from cotton cord, each approximately 16 inches long.
With CC and leaving a long tail (about 10-12 inches), attach slip knot to one end of handle. Sc around the handle making sure to push stitches together to avoid any gaps. Cover roughly the entire length of each cord. Finish off leaving another long tail (about 10-12 inches).
Tissue Paper
Using Ra-Ra Raffia, ch 64.
Row 1: sc in 2nd ch from hook and each ch across. Ch 1, turn.
Row 2: sc in first st and each st across. Ch 1, turn.
Row 3-50: Work as Row 2.
Finish off and weave in ends.
Note: I added 4 small balls of cake yarn to the inside of my bag as the gift. This only required a medium amount of tissue paper to be added on top. If you are adding a larger gift, you may want to reduce the amount of rows to crochet since you likely won’t need as much. For a smaller gift, you may need to crochet more rows if you want more tissue paper.
Bow
Using Lily Sugar ‘n Cream in Fleur de Lavande, ch 8.
Row 1: sc in 2nd ch from hook and each ch across. Ch 1, turn.
Row 2: sc in first st and each st across. Ch 1, turn.
Row 3-33: Work as Row 2.
Finish off leaving a long tail, about 16-20 inches long.
With the long tail, sew the short sides together and thus creating a small circle (do not fasten off. Keep the long tail attached). Flatten the circle to form a rectangle, making sure the seam is to the back and in the middle. From the front, pinch the rectangle in the middle creating the bow shape. With the remaining long tail, wrap it around the center of the bow, pulling tightly to help the bow hold its shape. After wrapping around a few times, finish off by weaving in the yarn in the loops created at the back of the bow.
Assembly
At this point, it will be easier if you mark which section will be the front panel of your bag. This will help with the directions in sewing all the pieces together. I simply tied a small piece of yarn around the bottom of my front panel.
With wrong side facing up of the front panel, use the long tails attached to each side of one of the handles to sew it approximately 2 ½ inches down from the top and 1 ½ inches in from each side. You may want to pin the handle in place to make it easier to sew. Using a darning needle, sew into place making sure not to go through to the front side. Pick up small pieces from the back of the fabric with yarn and sew over the handle. Repeat with the back panel.
Next, with the front panel facing wrong side up, use MC to sew one side panel to the left side of the front panel. Repeat with sewing the second side panel to the right side of the front panel.
With the back panel facing wrong side up, sew the left side of the back panel to the right side panel that was sewn on the front panel.
Sew one long edge of the bottom panel to the bottom of the front panel.
Flip entire piece over so all right sides are facing up.
Take the far right side panel and bring it over to sew it to the far left side panel.
Finish sewing the bottom panel to the side panels and back panel.
Turn inside out.
If you are adding a gift to your crochet gift bag, insert it before adding the tissue paper for the finishing touch.
Tie the bow onto the handle to complete the look. (Optional: I added a few extra “ribbons” of raffia to tie a bow and hold the handles together).
And there it is…Voila! A cute little present all in one. 😊


Leave a Reply