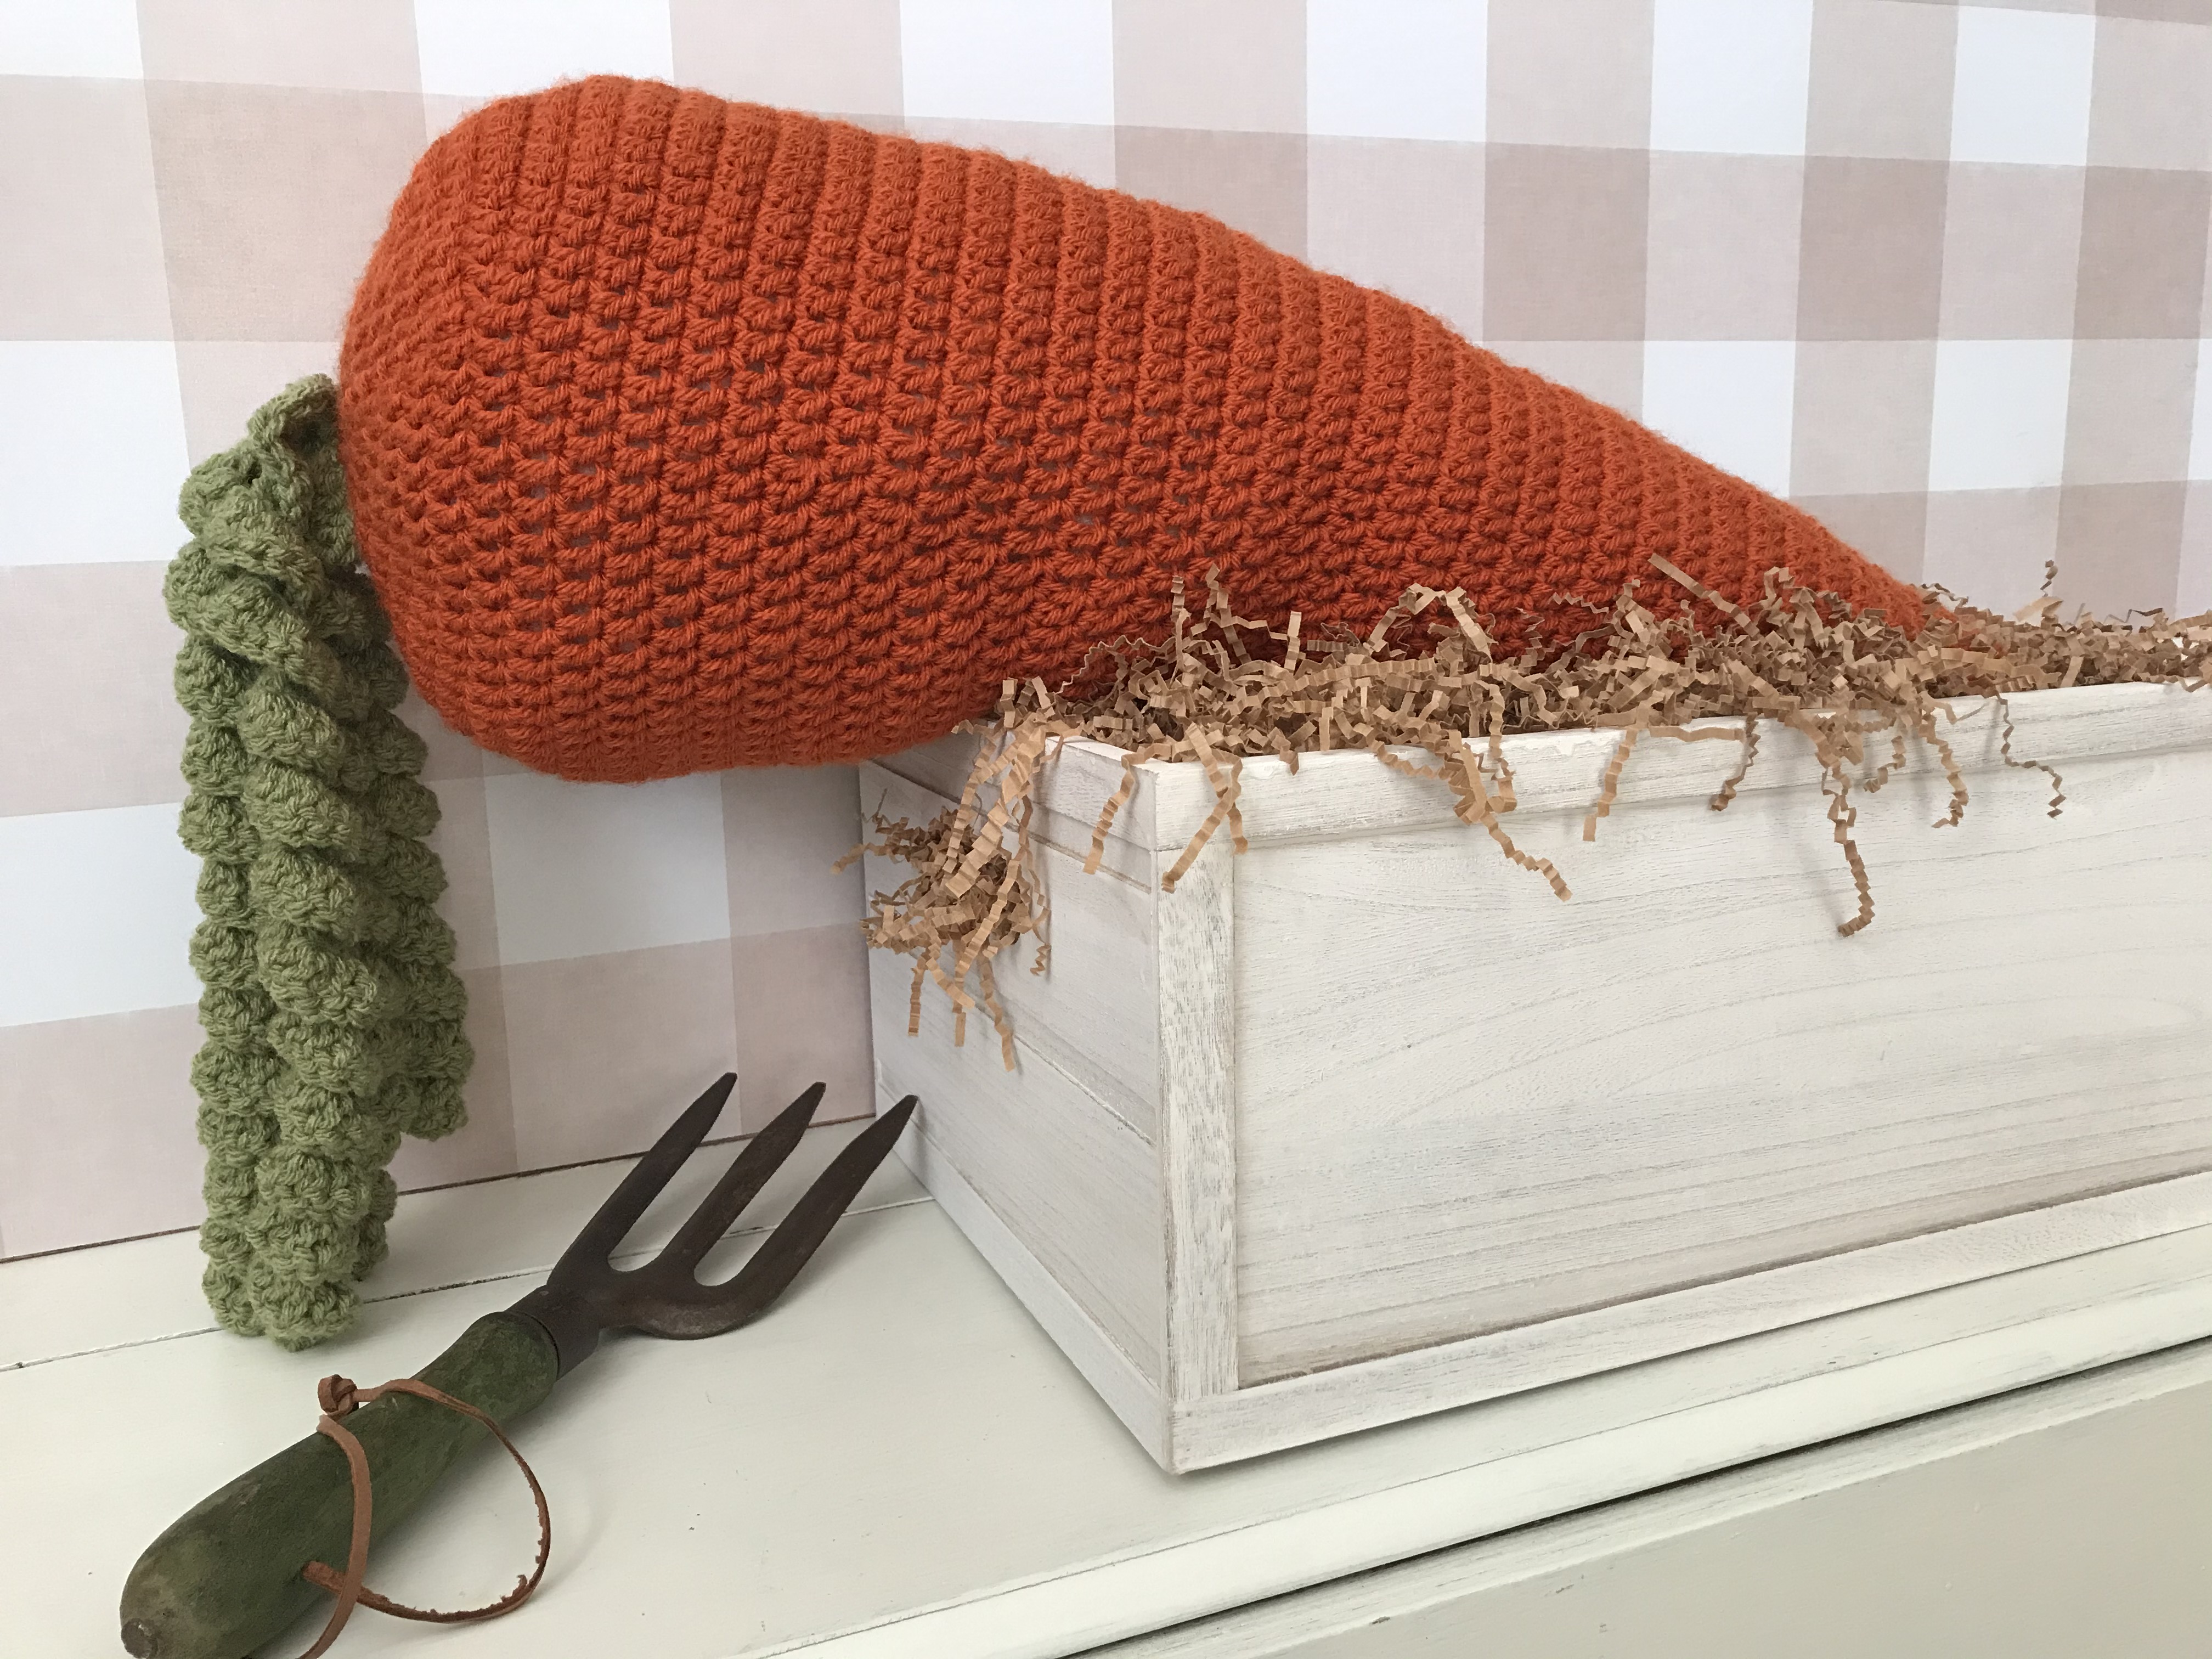
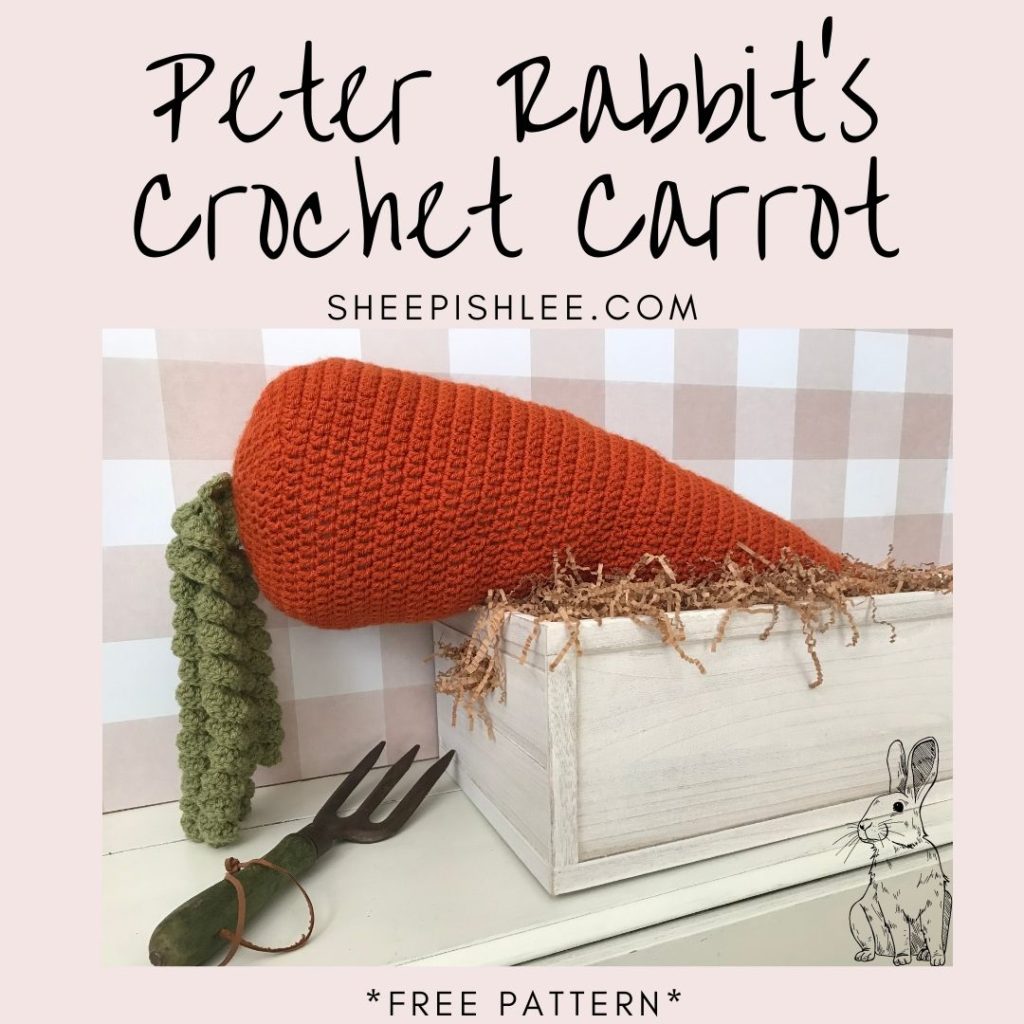
It may not have come from Mr. McGregor’s garden, but this extra-large crochet carrot is “sown” with simple double crochet stitches that anybunny will want to plant among their springtime décor. Crocheted in the round and plush all around, you’re bound to grab your hook and hop to it!

A Cute Root
Spring is my absolute favorite time of year! Whenever the temperature starts to rise and the sun is shining a little bit warmer, I feel like I can finally pull myself out from under the covers of the wintertime chill. Hearing the birds chirp, seeing flowers begin to emerge from their underground haven and feeling like I have more pep in my step, all just sings to my soul!. And even though I don’t necessarily have the coveted “green thumb”, I adore anything garden themed, including the real-deal things you actually plant in the ground and those that you plant in your home, ie. spring décor! So naturally😉, I figured: I like garden-y things + I like to crochet = how about I create a cute crochet carrot! And, a big, extra-large crochet carrot at that!
Project & Yarn
I know bigger is not always better but when it comes to crochet, why not?! Since the construction of the carrot is created in one piece beginning with a circle at the top and then continuing in consecutive rounds with simple decreases to help shape it, the carrot is easy to manage because there aren’t any intricate stitches or multiple pieces to deal with. The double crochet stitch is your friend with this project since it is the only stitch used for both the body (or root) of the carrot and the leaves (or greens). With an easy construction and only one stitch to contend with, it made sense to go big or go home with this one. Rest assured, this extra-large crochet carrot is not a hare-raising experience!

I was a little picky when it came to choosing the yarn for the carrot since I didn’t want anything to scream bright orange or look artificial. I was also keeping Peter Rabbit in mind and wanted something that would evoke what I would consider more antique looking hues and tones from the fabled story. I did some research and found what I was looking for in Vanna’s Choice colorways Terracotta and Dusty Green from Lion Brand.

With these more muted tones, the colors are beautiful and I’m not “Lion”…the yarn is exceptionally easy to work with which in my book (or hook!), is all the better when working on a larger project. At a category 4 medium weight, it’s the perfect worsted weight yarn that isn’t too thin or too bulky. I was also able to use a smaller hook size than suggested without any issues which allowed for the stitches to sit a little bit closer together and create a tighter weave. This was helpful when it came time to stuffing the carrot. As an added bonus, it only takes one ball of Terracotta and one ball of Dusty Green to complete the project…one and one and done!
I hope you’ll carrot on, get to the root of the matter and have a hoppy time crocheting Peter Rabbit’s Crochet Carrot!
Keep Crocheting!
Erica
PETER RABBIT’S CROCHET CARROT
Skill Level: Basic / Beginner
Materials
* 1 Ball Lion Brand Vanna’s Choice – Terracotta
* 1 Ball Lion Brand Vanna’s Choice – Dusty Green
* US size H crochet hook (5 mm)
* Scissors
* Tapestry needle
* Stitch marker
* Polyfil Stuffing
Abbreviations
* ch – chain
* st – stitch
* st(s) – stitches
* sl st – slip stitch
* dc – double crochet
* rnd – round
* beg – beginning
Notes
Carrot measures approximately 24 inches from top to bottom.
My thoughts on stuffing are this – I think it’s a bit tricky☹ And, maybe even a little challenging. It’s a delicate balance between not stuffing enough and over stuffing. There are some very talented crocheter’s who make it look so easy and flawless but in my sheepish ways, I’m not quite there yet. So, I embraced that! It is a carrot after all and carrots can be a bit lumpy. My recommendation is to just stuff it as best you can and don’t worry if you have a few lumps and bumps here and there. Mine has several and I like it that way. It gives the carrot character!
The magic circle* technique is used to create the circle that the stitches are crocheted around. Alternatively, you can ch 4 and sl st to the first ch to create a circle. Continue by crocheting the stitches into the circle.
* If unfamiliar with this technique, simply do a quick Google search and there are plenty of videos/tutorials explaining how to do it.
Dc2tog – yarn over, insert hook and draw up a loop. With 3 loops on the hook, yarn over and draw through 2 loops. Yarn over, insert hook into next st and draw up a loop. With 4 loops on the hook, yarn over and draw through 2 loops. To complete, yarn over and draw through all 3 loops on the hook.
When working in the circle, ch 2 does not count as a stitch.
Pattern
CARROT
Make a magic circle, ch 2
Rnd 1: 10 dc in ring, sl st to top of beg dc of rnd (10 dc)
Rnd 2: ch 2, 1 dc in same st, 2 dc in each of next 18 ch, 1 dc in last st before beg ch 2, sl st to beg dc of rnd (20 dc)
Rnd 3: ch 2, 1 dc in same st, *(2 dc in next st, 1 dc in next st), *repeat around, sl st to beg dc of rnd (30 dc)
Rnd 4: ch 2, 1 dc in same st, 1 dc in next st, 2 dc in next st, *(1 dc in next 2 st(s), 2 dc in next st), *repeat around, sl st to beg dc of rnd (40 dc)
Rnd 5: ch 2, 1 dc in same st, 1 dc in next 2 st(s), 2 dc in next st, *(1 dc in next 3 st(s), 2 dc in next st), *repeat around, sl st to beg dc of rnd (50 dc)
Rnd 6: ch 2, 1 dc in same st, 1 dc in next 3 st(s), 2 dc in next st, *(1 dc in next 4 st(s), 2 dc in next st), *repeat around, sl st to beg dc of rnd (60 dc)
Rnd 7: ch 2, 1 dc in same st, 1 dc in next 4 st(s), 2 dc in next st, *(1 dc in next 5 st(s), 2 dc in next st), *repeat around, sl st to beg dc of rnd (70 dc) – Place a stitch marker in this st
From this point forward, the pattern is worked in continuous rounds (no joining). At the end of each rnd, place the stitch marker in the beginning dc of the next round to help keep track of your rounds.
Rnd 8 – 13: dc around (70 dc)
Rnd 14: 33 dc, dc2tog, 32 dc, dc2tog, dc (68 dc)
Rnd 15: dc around (68 dc)
Rnd 16: 32 dc, dc2tog, 31 dc, dc2tog, dc (66 dc)
Rnd 17: dc around (66 dc)
Rnd 18: 31 dc, dc2tog, 30 dc, dc2tog, dc (64 dc)
Rnd 19: dc around (64 dc)
Rnd 20: 30 dc, dc2tog, 29 dc, dc2tog, dc (62 dc)
Rnd 21: dc around (62 dc)
Rnd 22: 29 dc, dc2tog, 28 dc, dc2tog, dc (60 dc)
Rnd 23: dc around (60 dc)
Rnd 24: 28 dc, dc2tog, 27 dc, dc2tog, dc (58 dc)
Rnd 25: dc around (58 dc)
Rnd 26: 27 dc, dc2tog, 26 dc, dc2tog, dc (56 dc)
Rnd 27: dc around (56 dc)
Rnd 28: 26 dc, dc2tog, 25 dc, dc2tog, dc (54 dc)
Rnd 29: dc around (54 dc)
Rnd 30: 25 dc, dc2tog, 24 dc, dc2tog, dc (52 dc)
Rnd 31: dc around (52 dc)
Rnd 32: 24 dc, dc2tog, 23 dc, dc2tog, dc (50 dc)
Rnd 33: dc around (50 dc)
Rnd 34: 23 dc, dc2tog, 22 dc, dc2tog, dc (48 dc)
Rnd 35: dc around (48 dc)
Rnd 36: 22 dc, dc2tog, 21 dc, dc2tog, dc (46 dc)
Rnd 37: dc around (46 dc)
Rnd 38: 21 dc, dc2tog, 20 dc, dc2tog, dc (44 dc)
Rnd 39: dc around (44 dc)
At this point, start stuffing the carrot and keep stuffing as you work more rounds.
Rnd 40: 20 dc, dc2tog, 19 dc, dc2tog, dc (42 dc)
Rnd 41: dc around (42 dc)
Rnd 42: 19 dc dc2tog, 18 dc, dc2tog, dc (40 dc)
Rnd 43: dc around (40 dc)
Rnd 44: 18 dc, dc2tog, 17 dc, dc2tog, dc (38 dc)
Rnd 45: dc around (38 dc)
Rnd 46: 17 dc, dc2tog, 16 dc, dc2tog, dc (36 dc)
Rnd 47: dc around (36 dc)
Rnd 48: 16 dc, dc2tog, 15 dc, dc2tog, dc (34 dc)
Rnd 49: dc around (34 dc)
Rnd 50: dc2tog around (17 dc)
Rnd 51: dc around (17 dc)
Rnd 52: 2 dc, dc2tog, dc, dc2tog, dc, dc2tog, dc, dc2tog, 2 dc (11 dc)
Rnd 53: 5 dc2tog, dc (6 dc)
Rnd 54: 3 dc2tog (3 dc)
Finish off and with a tapestry needle, sew the hole closed and weave in end.
CARROT LEAVES
Large – Make 3
ch 45, 3 dc in 3rd ch from hook and in each st across (129 dc)
Finish off leaving a long tail to sew to the top of the carrot.
Small – Make 2
ch 33, 3 dc in 3rd ch from hook and in each st across (93 dc)
Finish off leaving a long tail to sew to the top of the carrot.
Assembly
With the long tails from the leaves, attach the leaves around the center of the top of the carrot. Weave in all ends.


Leave a Reply